Model lifecycle
The Model lifecycle module orchestrates releases, compares servers, and deploys assets across environments or Git. Each release is a curated collection of assets (processes, chores, cubes, data, etc.) that you compare, stage, and deploy together.
1. Create or open a release
Open Model lifecycle to see every release, its description, and last updated timestamp. Use New release to capture a new set of changes.
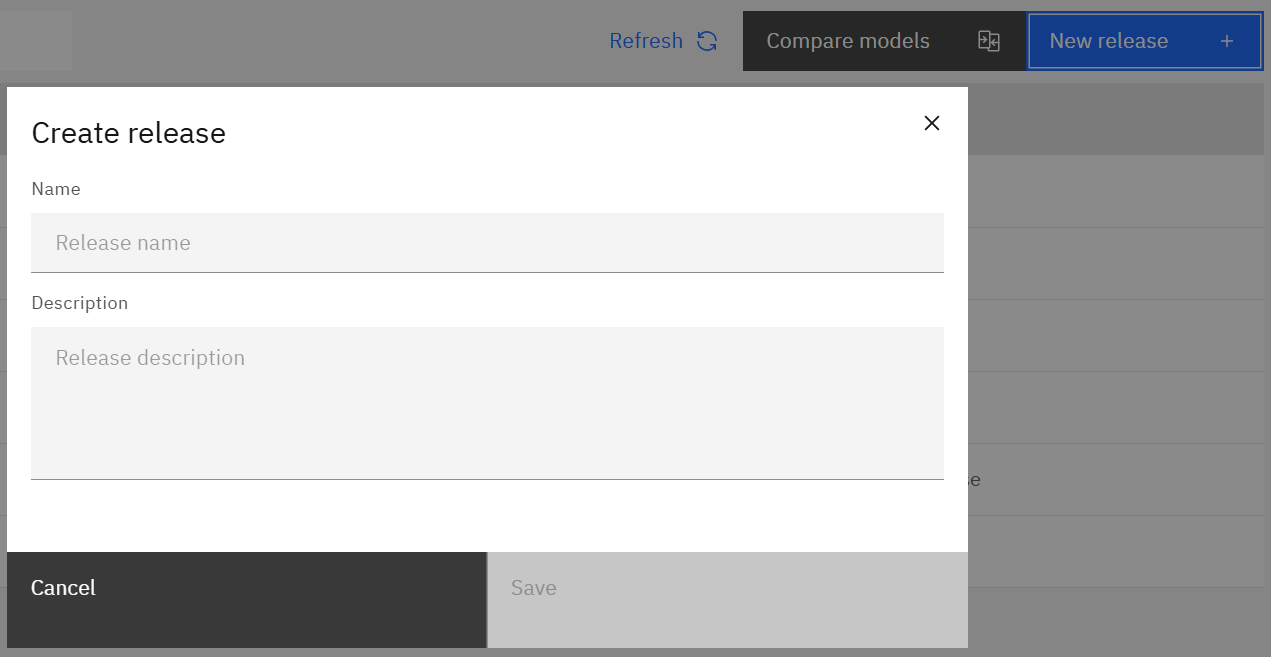
Name the release, optionally add a description, and save.
2. Compare environments
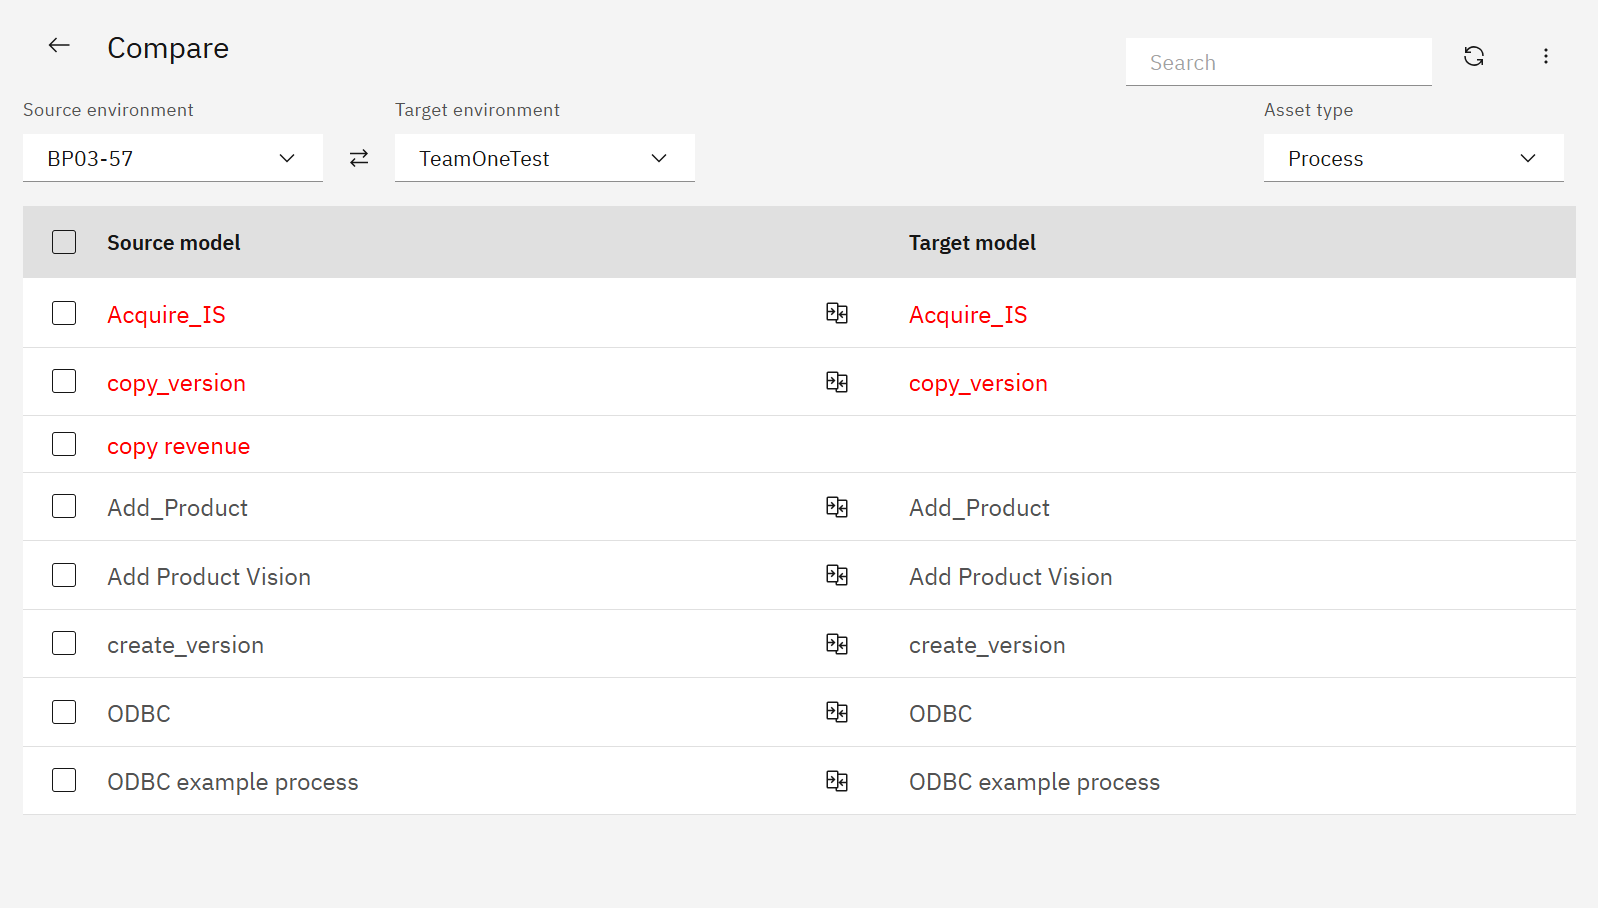
Use Compare models to find differences between two environments before pulling assets into a release.

- Choose the Source environment and Target environment.
- Select the asset type (processes, chores, cubes, etc.).
- Highlight differences; red names indicate mismatches.
- Use the menu to show differences only, include system objects, or exclude data source passwords.
You can deploy directly from Compare if you need a quick fix, or add assets to a release for structured deployments.
3. Manage release assets
Opening a release shows all saved assets, their source environment, and last refresh time.

Toolbar actions:
- Compare – compare a saved asset with the current target environment.
- Deploy – push selected assets to IBM PA or Git.
- Sync latest – refresh assets from the source server.
- Delete – remove assets from the release.
Clicking an asset opens the diff viewer for code-level comparison.
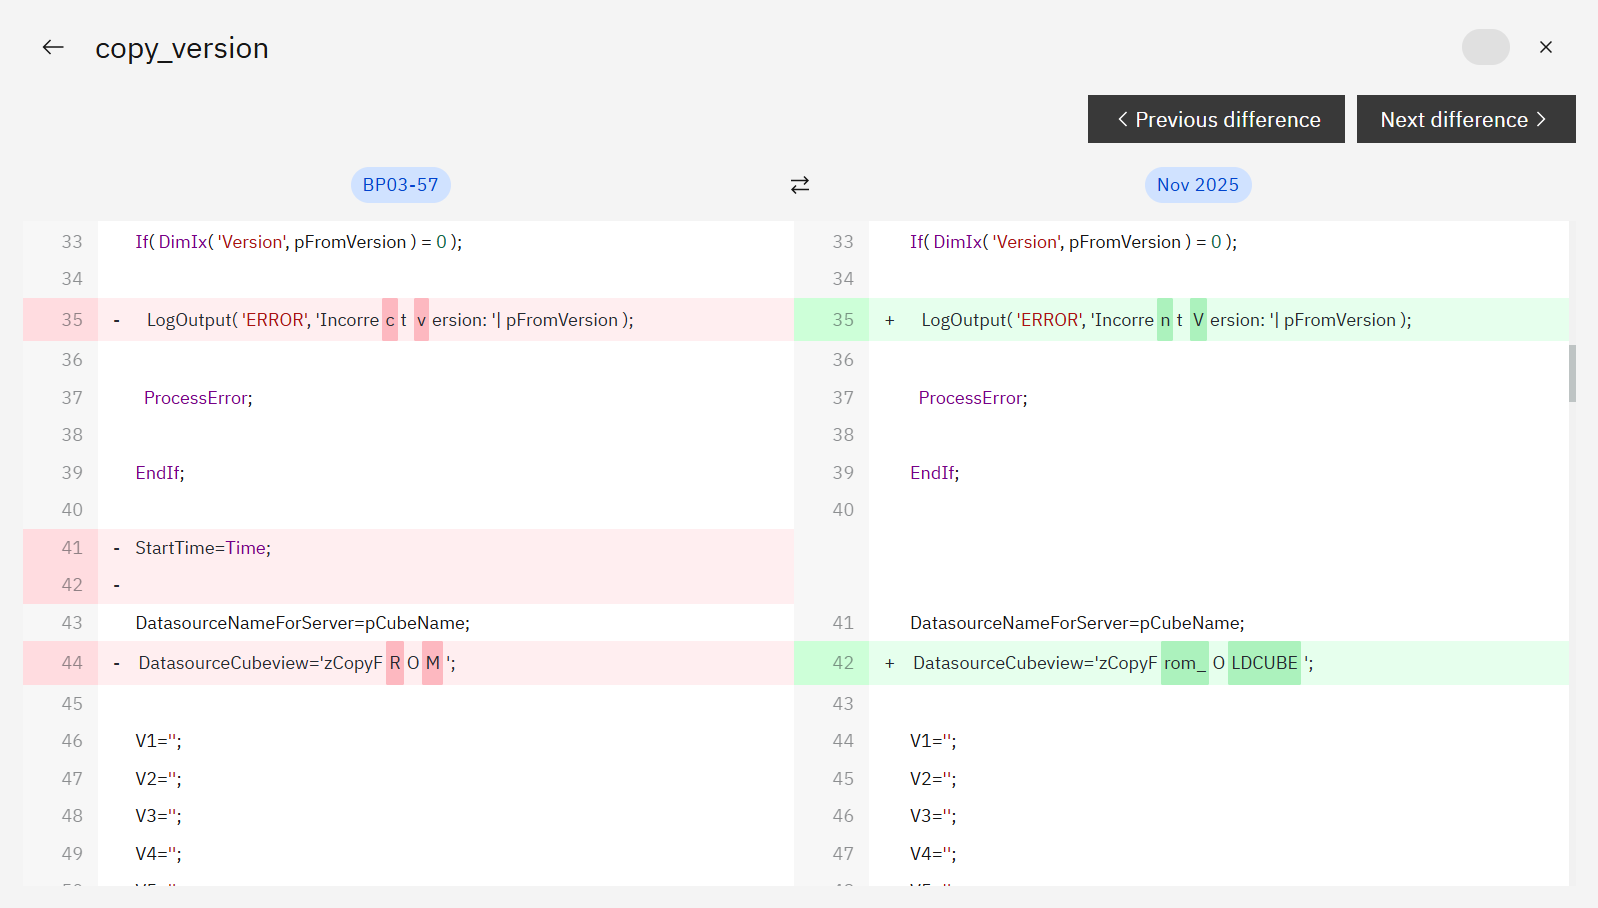
Use Previous/Next difference to review every change before approving.
4. Deploy changes
Select assets and click Deploy. Choose whether to deploy to IBM Planning Analytics or a Git repository.
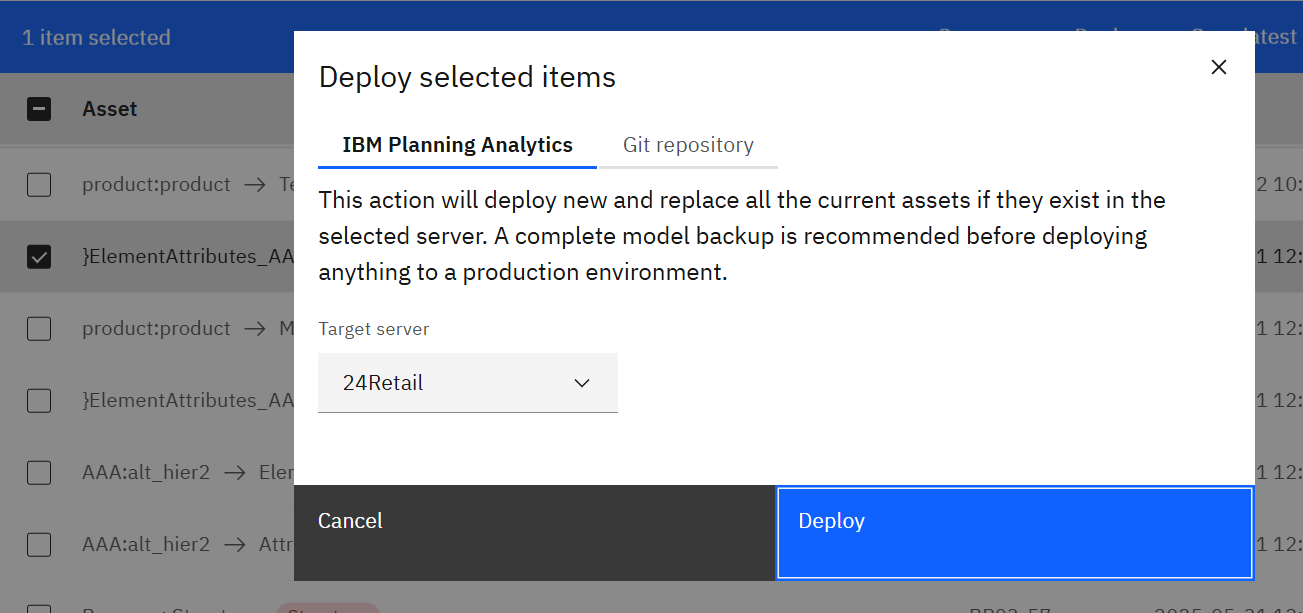
Confirm the target server (or Git repo) and deploy. SPACE records the action in the release history automatically.
5. Review the history
Each release captures a timeline of add/compare/refresh/deploy events so auditors know exactly what changed.
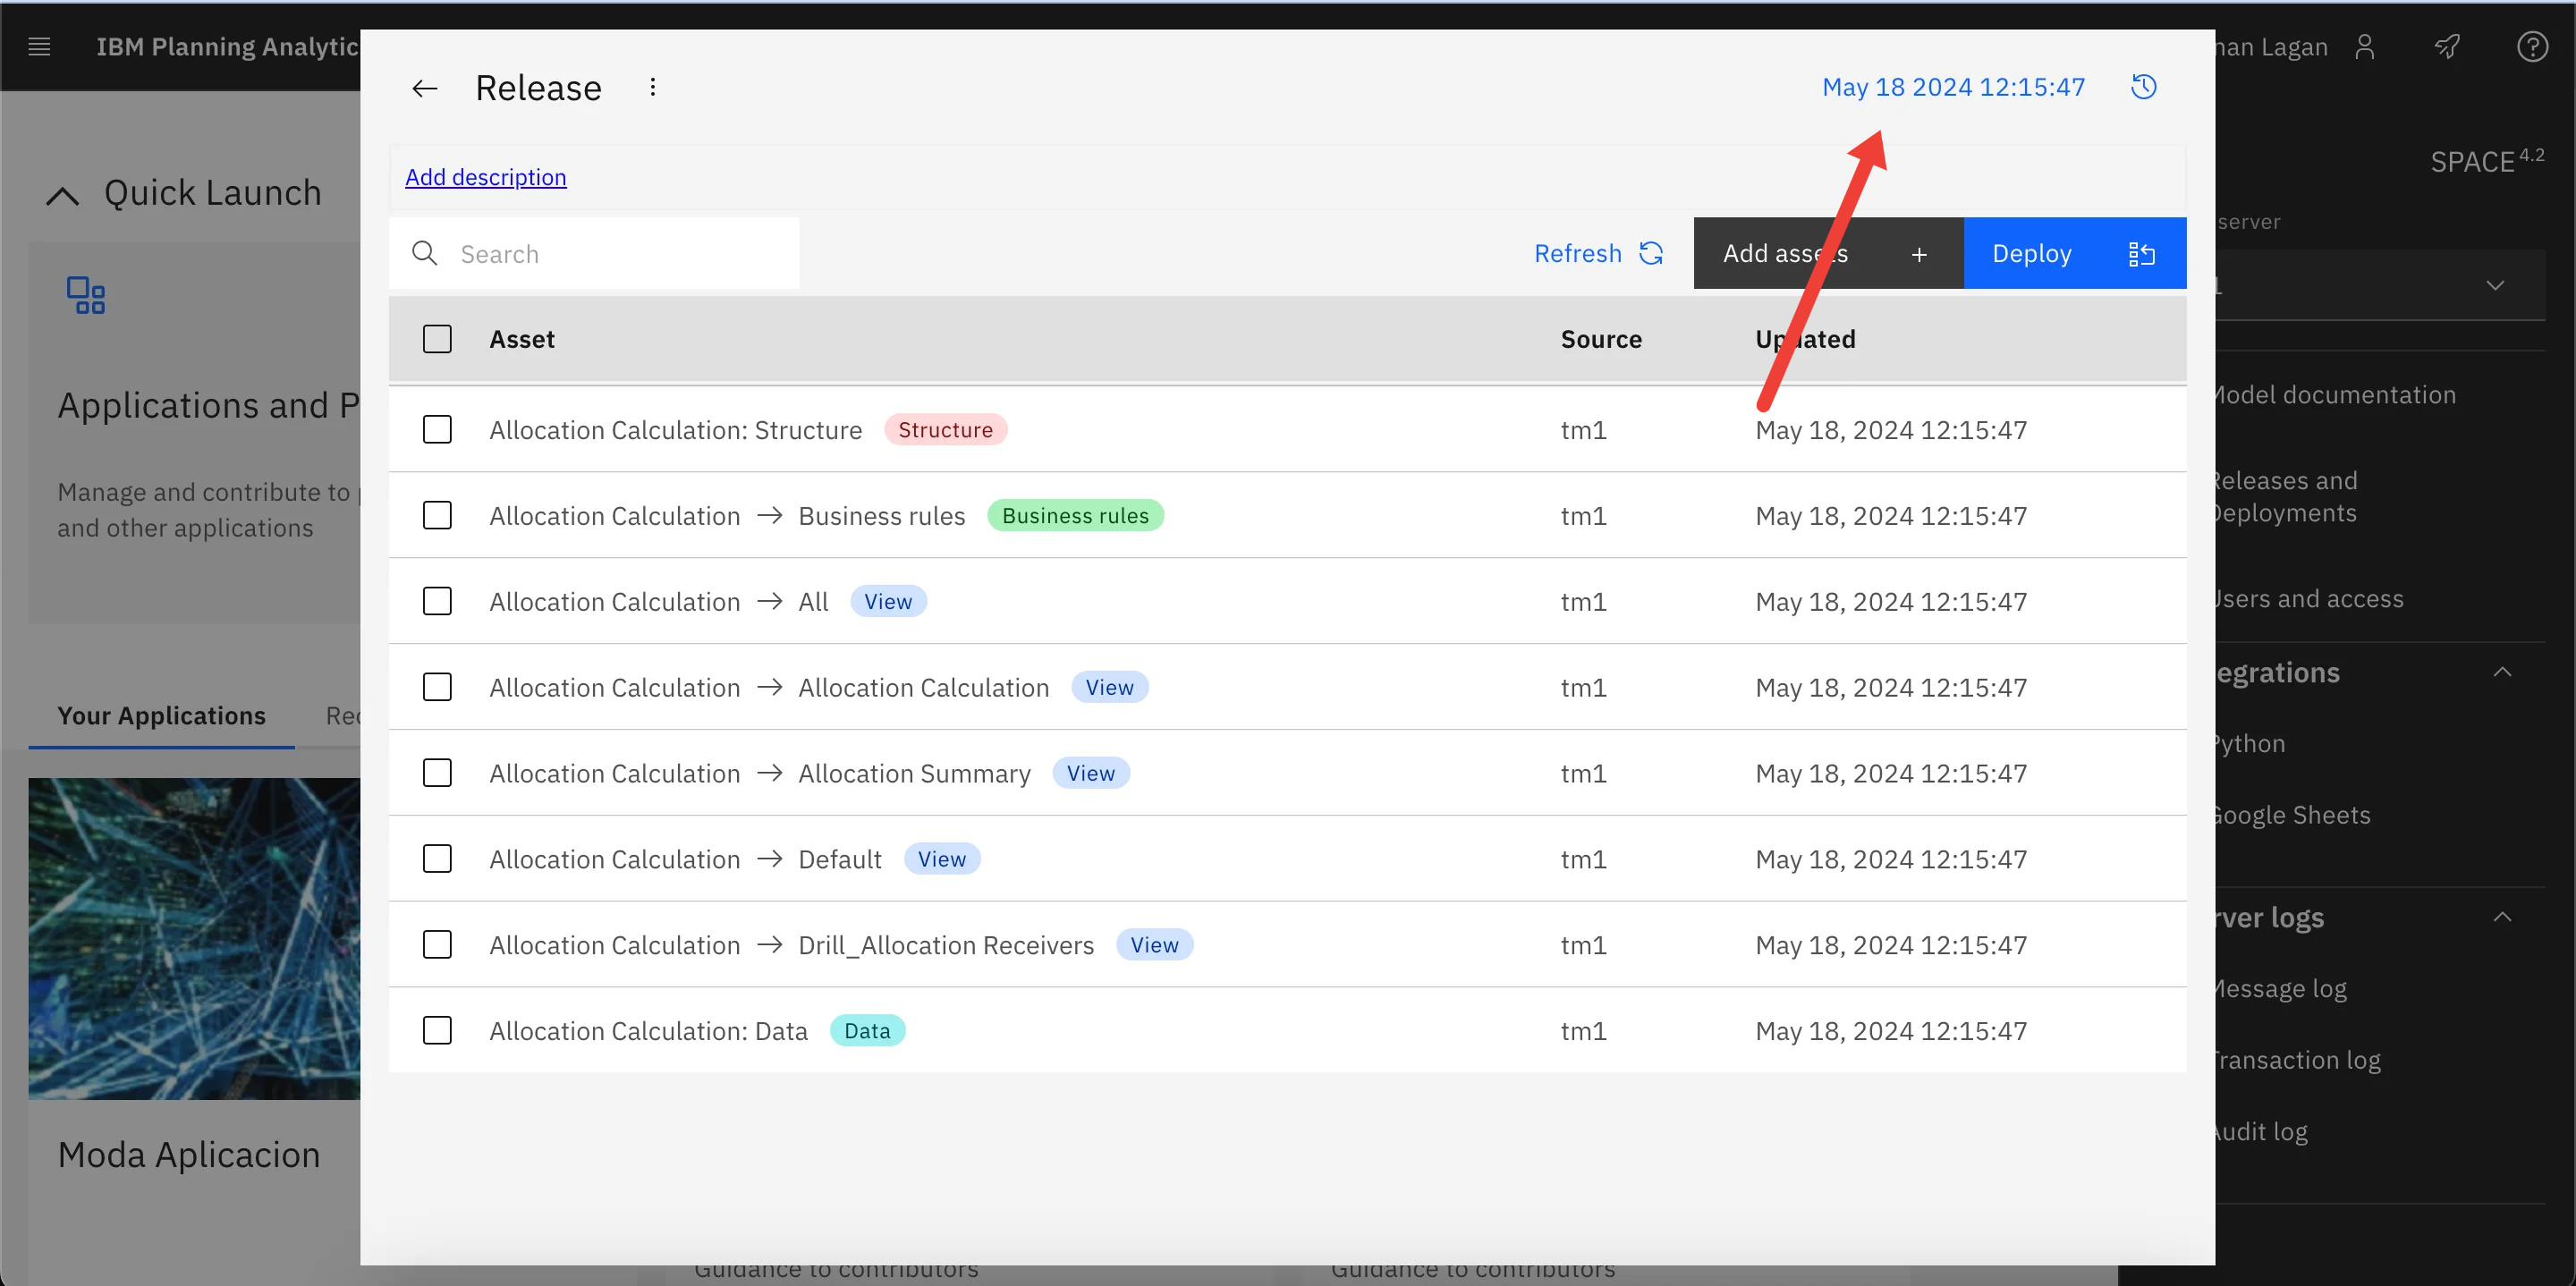
Click the timestamp in the top-right corner of the release to view the backlog of actions with user, time, and description.
